
 EN
EN
A Technician's Guide to Professional Battery Replacement for iPhone Series
Performing a proper battery replacement for iPhone series devices is one of the most essential skills a mobile repair technician can develop. As iPhones age, their lithium-ion cells degrade, leading to shorter runtimes, unexpected shutdowns, and throttled performance. Knowing the correct procedure protects both the device and the end user, while also ensuring a professional result that builds client trust.
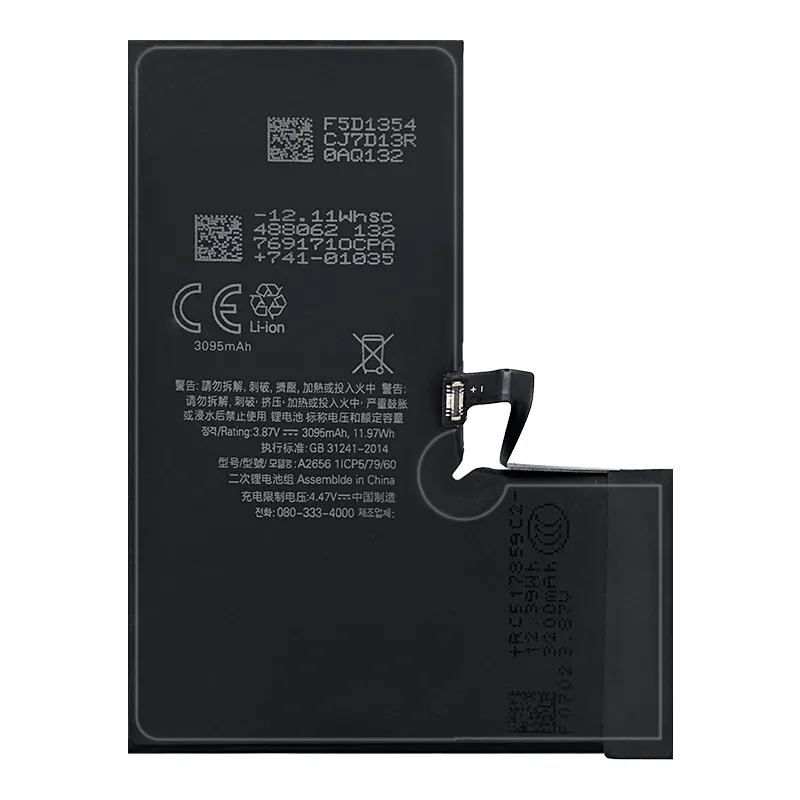
This guide covers everything a technician needs to approach battery replacement for iPhone series models with confidence. From understanding the right tools to recognizing critical safety checkpoints, each stage of the process demands careful attention to detail. Whether you are servicing an iPhone 11 or an iPhone 14, the foundational principles of battery replacement for iPhone series hardware remain consistent and must be followed precisely.
Essential Tools and Workspace Preparation
Tools Required for Battery Replacement for iPhone Series
Before beginning any battery replacement for iPhone series device, a technician must assemble the correct toolkit. At minimum, you will need a pentalobe screwdriver for the external screws, a Phillips screwdriver for internal components, plastic spudgers, suction cups, and ESD-safe tweezers. Using incorrect tools is a leading cause of damage during battery replacement for iPhone series work, so quality matters enormously.
Anti-static mats and wrist straps are also critical. Electrostatic discharge can silently damage sensitive components on the logic board during battery replacement for iPhone series operations. A clean, well-lit workspace prevents lost screws and misidentified components, both of which can derail a successful battery replacement for iPhone series procedure.
Pre-Work Device Assessment
Every battery replacement for iPhone series job should start with a device diagnostic. Use software tools to check the current battery health percentage. If health is below 80%, the case for battery replacement for iPhone series is clear. Also inspect the screen, frame, and rear glass for pre-existing damage before opening the device, and document it to avoid liability disputes later.
Discharge the battery to below 25% before starting battery replacement for iPhone series work. This reduces the risk of thermal events if the adhesive removal process accidentally punctures the cell. Safety-first preparation is what separates professional battery replacement for iPhone series service from amateur repairs that risk injury or device damage.
Step-by-Step Battery Replacement Process
Opening the iPhone Safely
The battery replacement for iPhone series process begins with removing the two pentalobe screws at the bottom of the device. Apply a heated pad or iOpener to soften the display adhesive before inserting the suction cup. This controlled approach is essential for battery replacement for iPhone series models that use strong adhesive seals on their OLED displays. Pull with steady, gradual tension and never force the screen open abruptly.
Once the screen is lifted, angle it carefully and disconnect the display cables before fully detaching the panel. Keep the screen assembly to one side and locate the battery connector on the logic board. Every battery replacement for iPhone series technician should memorize the cable routing to avoid accidental tearing during reassembly.
Removing and Installing the Battery
The adhesive pull-tabs beneath the battery are a defining feature of battery replacement for iPhone series hardware. Pull each tab slowly at a low angle, nearly parallel to the back glass. If a tab breaks, apply a small amount of isopropyl alcohol to dissolve the remaining adhesive. Rushing this stage is the most common cause of bent frames during battery replacement for iPhone series procedures.
Once the old battery is removed, inspect the chassis for any adhesive residue and clean the surface thoroughly. Install the new battery using the pre-applied adhesive strips, aligning it carefully with the chassis contour. Reconnect the battery connector firmly, then reattach all display cables before powering on the device to verify the battery replacement for iPhone series was successful. Always confirm battery health recognition in the device settings after each battery replacement for iPhone series job.
Quality Verification and Post-Service Checks
Testing After Battery Replacement for iPhone Series
After completing battery replacement for iPhone series work, a thorough testing protocol is non-negotiable. Power on the device and navigate to Settings to confirm that the new battery is recognized and that battery health data is displaying correctly. For newer iPhone models, battery replacement for iPhone series may require a pairing process or diagnostic tool to fully authenticate the new cell and clear any 'unknown part' warnings.
Run a full charge cycle and monitor the device for unexpected shutdowns or overheating. A properly completed battery replacement for iPhone series should show stable charging behavior, accurate capacity readings, and no thermal anomalies. If any issue appears, revisit connector seating and ensure the replacement cell meets OEM-equivalent specifications.
Reassembly and Adhesive Sealing
Reassembly is just as critical as disassembly in battery replacement for iPhone series service work. Replace display adhesive strips before closing the screen, and apply firm, even pressure along the display edges to ensure a proper seal. Reinstall the pentalobe screws at the correct torque — overtightening will crack the rear glass and undertightening will cause rattling. Clean the exterior, document the completed battery replacement for iPhone series, and brief the customer on how to maintain good battery health going forward.
FAQ
How long does a professional battery replacement for iPhone series typically take?
An experienced technician can complete battery replacement for iPhone series in approximately 30 to 45 minutes. Complex models with stronger adhesive or more cable layers may take slightly longer. First-time technicians should allow more time to follow each step carefully without rushing.
What battery capacity should I choose for battery replacement for iPhone series models?
Always match or exceed the original OEM capacity specification for any battery replacement for iPhone series device. For example, the iPhone 14 uses a 3,279 mAh cell. Selecting a battery with equivalent or higher capacity, correct voltage, and proper connector type ensures the battery replacement for iPhone series delivers full performance and longevity.
Can battery replacement for iPhone series affect water resistance?
Yes, battery replacement for iPhone series work does break the original factory seal. To restore water resistance after battery replacement for iPhone series, technicians must apply new display adhesive and reseal all entry points carefully. While the result may not fully match factory IP ratings, proper adhesive application significantly reduces moisture ingress risk.
